

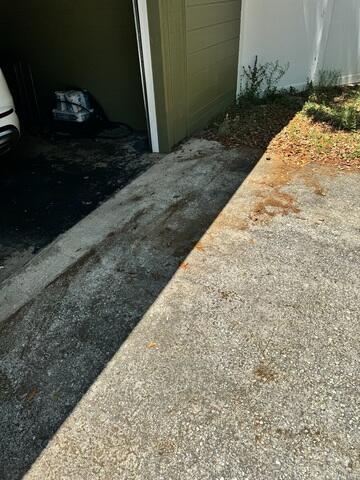
Garage Flood Zone
The homeowner reported that this area in front of his garage had experienced heavy flooding, causing water to intrude inside.
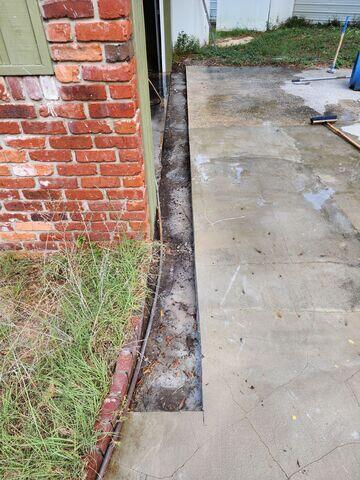
Channel Drain Installation
The LRE team initiates the installation of the new channel drain by cutting out a precisely measured section of concrete in front of the entrance of the garage.
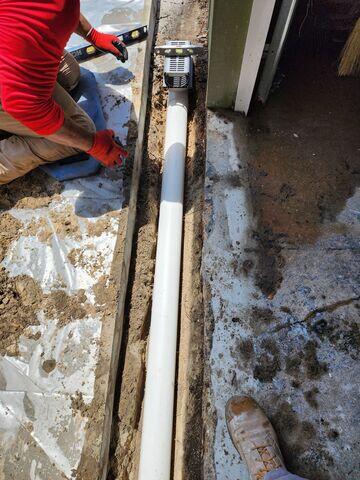
Channel Drain Pipe Installation
After the trench for the channel drain has been cut out of the concrete, the team proceeds to place the drainage pipe into its proper position.
Drainage Pipe Installation
The channel drain is connected to a drainage pipe that will direct the collected rainwater out to a pop-up relief drain at the far end of the property. Following the complete installation, this drainage pipe will be carefully concealed below the surface for a seamless appearance.
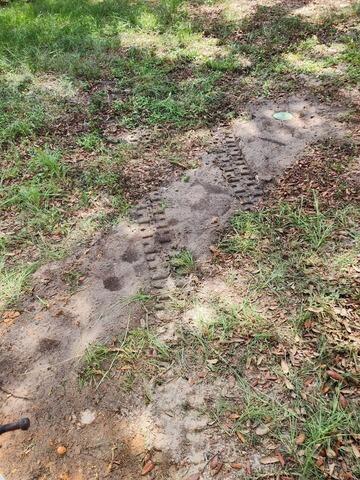
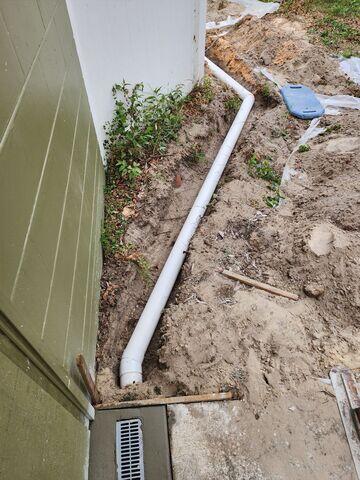
Pop-up Relief Drain
The underground drainage pipe extends to the pop-up relief drain, where the collected rainwater will be discharged away from the home.

Complete Channel Drain Installation
The installation of the channel drain is complete, and it will now collect and divert rainwater away from the homeowner's garage.
