

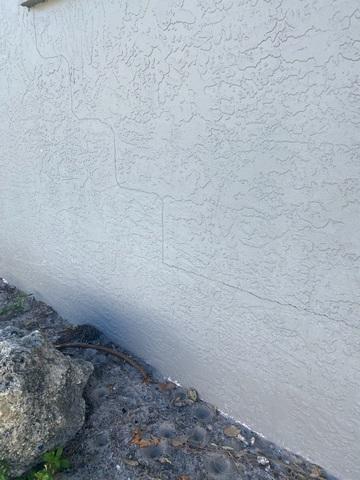
Stairstep Cracks to Exterior Walls
These stairstep cracks were growing in size and number prompting these homeowners to call LRE for help.
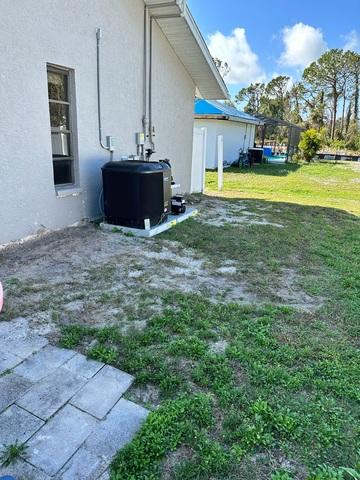
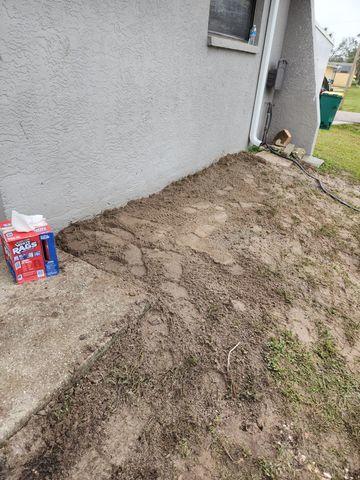
Erosion Leaves Footer Exposed
Poor grading and erosion of soils over time can leave a home's footer exposed. In addition, it can compromise the foundation causing it to move and crack.
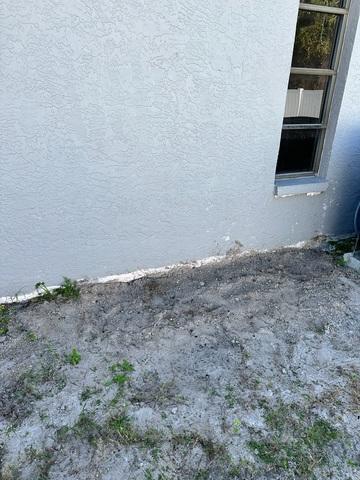
Cracks Around Windows
Another common symptom of foundation settlement or sinking are cracks that form around windows. This is a problem because if left untreated, could lead to water intrusion.
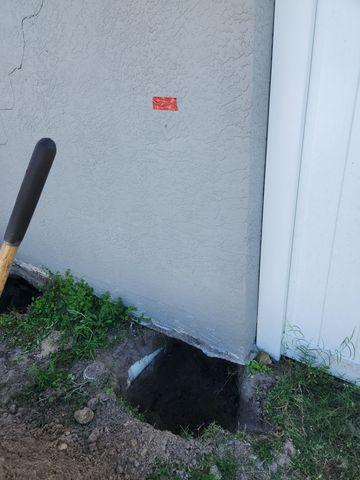
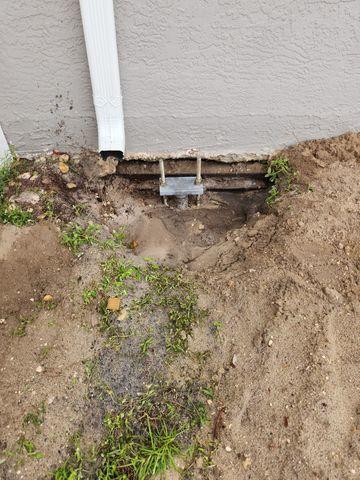
Holes for Helical Piers
Helical piers are carefully measured and installed around sections of the house that experience movement. Holes are created first and close to the foundation.
Helical Pier Installed
The first helical pier is drilled into the soil and bracket attached to the top.
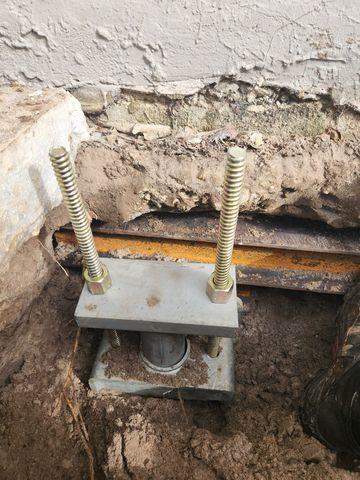
Helical Pier and Bracket Installation
Each helical pier and bracket are custom-cut for a perfect fit to the home's footer. The pier is cut to size and once complete both items are covered over and buried underground.
PolyLevel Application to Side of House
The next step in this stabilization project is injecting PolyLevel around the perimeter of the affected area.
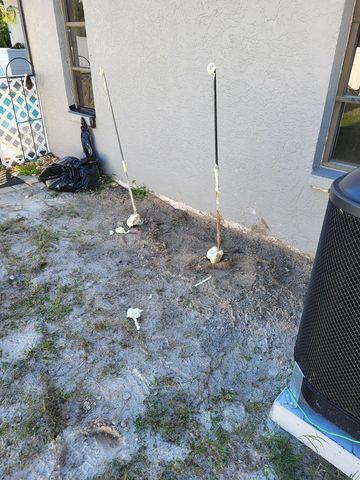
PolyLevel Injection and Curing
PolyLevel fills voids in soil and adds to the stability of the home. This product also cures in less than 30 minutes, is environmentally safe, and a permanent solution for repairing a home.
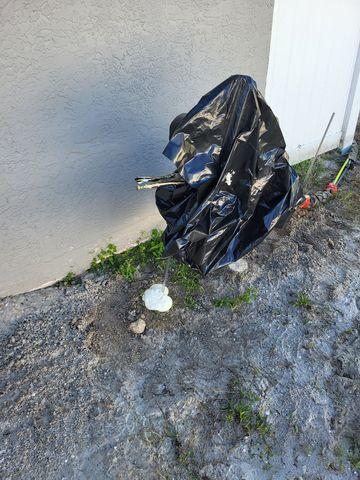
Helical Piers Buried Upon Completion
All signs of work are removed once helicals and brackets are buried underground, leaving the home better than it was before.
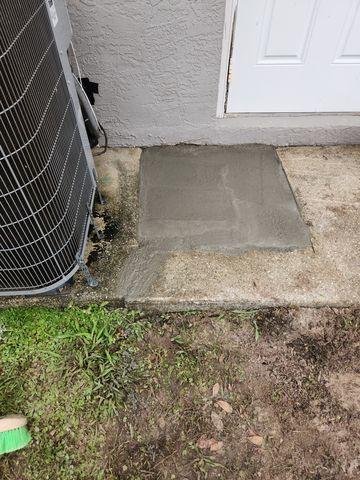
Concrete Replaced Upon Job Completion
LRE removed sections of concrete in order to install some products but replaced the new sections when the job was done.
