

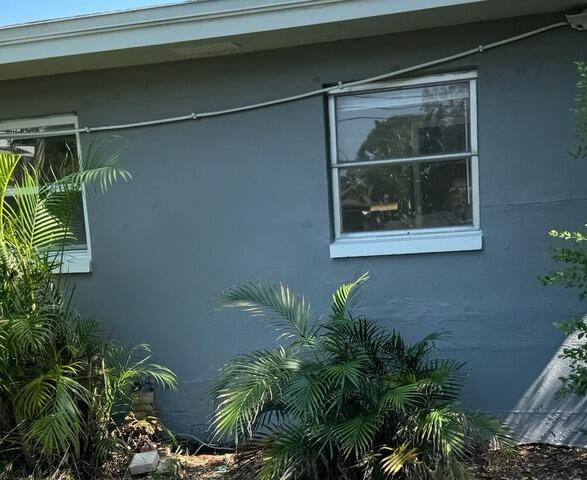
Exterior Wall Cracks
The homeowner noticed horizontal cracks developing along the exterior walls, indicating that the home's foundation had settled.
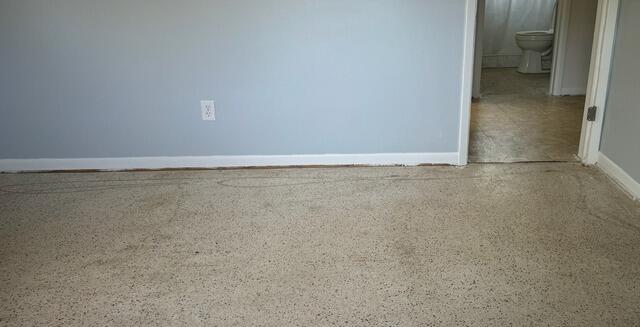
Settling Interior Slabs
The interior concrete slabs of the home had noticeably settled, with gaps appearing between the floors and the walls.
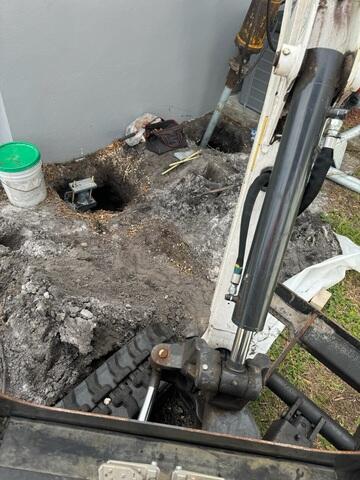
Installing Exterior Helical Piers
The LRE team begins installing the helical piers around the perimeter of the home's foundation.
Complete Exterior Helical Pier Installation
The exterior helical piers have been completely installed and bracketed to the home's foundation, providing durable and permanent support.
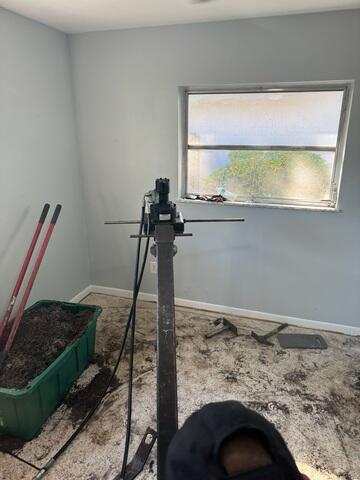
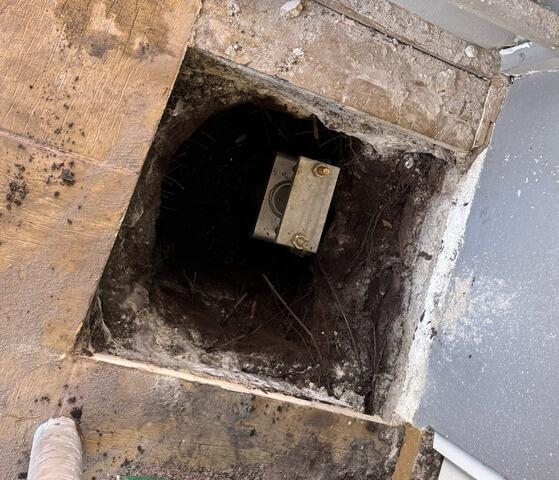
Interior Helical Pier Installation
Once the perimeter of the foundation has been stabilized, the LRE team begins installing the interior helical piers through the interior slabs of the home.
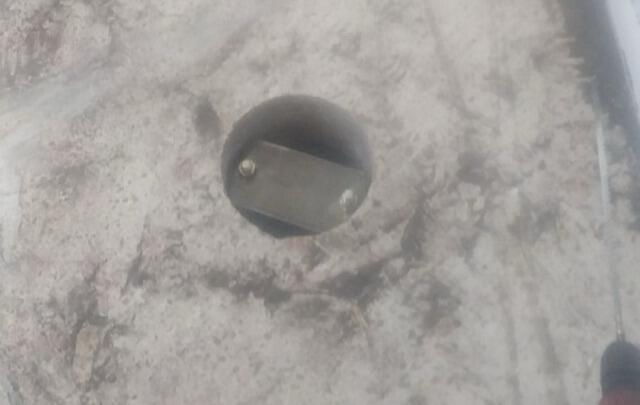
Complete Interior Helical Pier Installation
The interior helical piers have been successfully installed and have fully lifted and stabilized the settling interior slabs.
